New Products
919-3810
• Operating Instruction & Test Analysis:---
• Step 1: Prepare a container & remove the approximately 1/10 of volume of coolant from
radiator. (Fig. 1)
• Step 2: Disassemble the rubber cone from the detector.
• Step 3.1: Install the rubber bulb, cap, upper chamber, lower chamber, brass adaptor and
the available radiator cap one after another. (This way could provide a safer and
more accurate test) and then fill the upper chamber with blue detector liquid till
the black line. (Fig. 2)
• Step 3.2: alternative installment for situation when there is no available radiator cap.
(Fig. 3) Install rubber bulb, cap, upper chamber, lower chamber and rubber
cone on after another. Please hold the detector body as operating.
• Step 4: pump the rubber bulb continually to draw the steam from radiator.
• If exhaust gasses presents in cooling system, the color of test liquid turns from bule
to green or yellow when the steam mixes with CO2 detector liquid in detector. (Fig. 4)
• If the detector liquid still in blue during test operating, it means the gasket keeps in
good condition. (Fig. 4)
• Test Chamber Material: PC.
• Bulb Material: Rubber.
• Connector Material: Free-cutting copper.
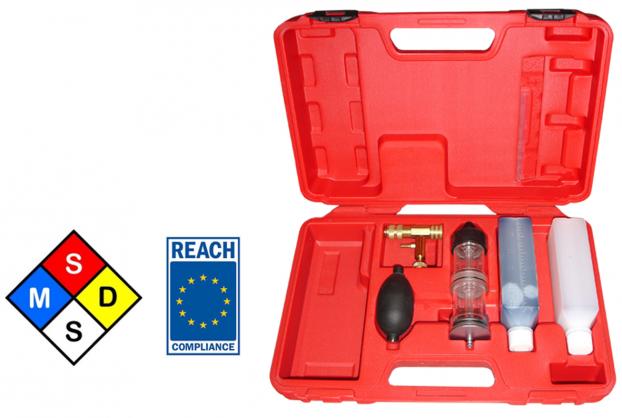
• Includes US-made CO2 tester fluid, along with MSDS.
• Tester fluid with MSDS and SVHC compliance.
• Tester fluid changes from blue to green or yellow if CO2 is present in coolant.
• Provided with a rubber adapter for fitting most radiator filler necks
• Rubber bulb helps draw vapor from radiator into test chambers
• Set for testing leaks in head gasket without removing engine cylinder head by testing
presence of CO2 in cooling system.


