Motorcycle Repair Tools
251-4417
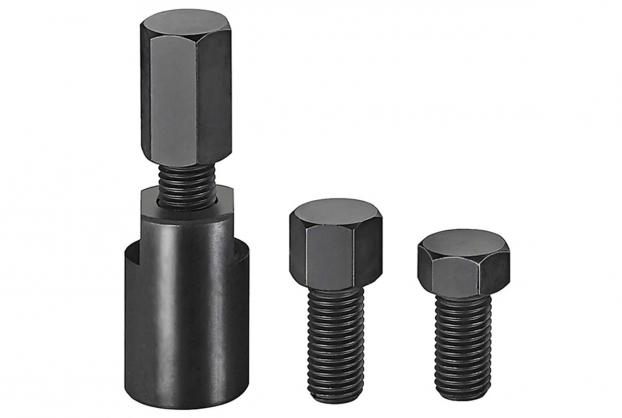
ATV Steering Knuckle/Ball Joint Separator
• It allows you without damaging the A-arm, ball joint studs or rubber boots while
separating the ball joints from the knuckle body.
• It consists of a tool body and both types of press bolts to fit Honda and Yamaha.
• It works on the following ATV models :
Honda: TRX250R 86-89, TRX250X 87-88/91-92, TRX250 Recon 97-01,
TRX300EX 93-01, TRX450R 04-07, TRX450ER 06-07.
Yamaha: YFZ350 87-01, YFM350X 87-01.
• Remove the cotter pin from the ball joint stud and loosen the locknut
three or four turns, but do not remove it completely.
• Remove the cotter pin and locknut from the opposite ball joint stud.
• Choose the appropriate pressure bolt and put the tool between the
ball joint studs, centering the bolt against the stud to be removed.
• Turn the locknut so there is a gap between it and the knuckle body
in order to separate the ball joint.
• If the locknut is against the knuckle body, the ball joint cannot separate.
• Hold the tool body; tighten the pressure bolt against the ball joint stud.
• Strike the control arm sharply with a plastic mallet until the ball joint
stud is separated from the knuckle body.
• You may have to make several attempts to separate the ball joint stud.
• Remove the tool and locknut, turn the tool over and repeat above
steps for separating another ball joint stud.

